Alternate picking is an important technique to improve speed and accuracy in playing. And I’m really inconsistent about it. Problem is, the usual “finger gym” exercises are just so boring to play!
So my suggestion is to find a great song that’s fun to play, figure it out (write it down if you can), and use it as your exercise. Start slow, then try to get it up to speed.
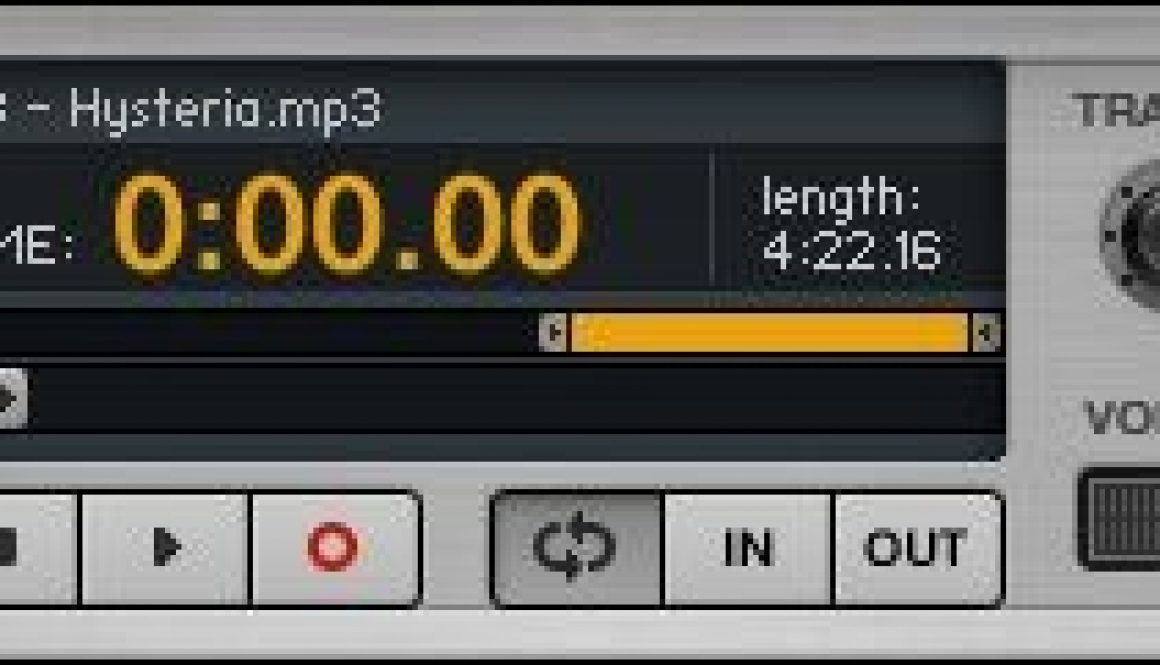
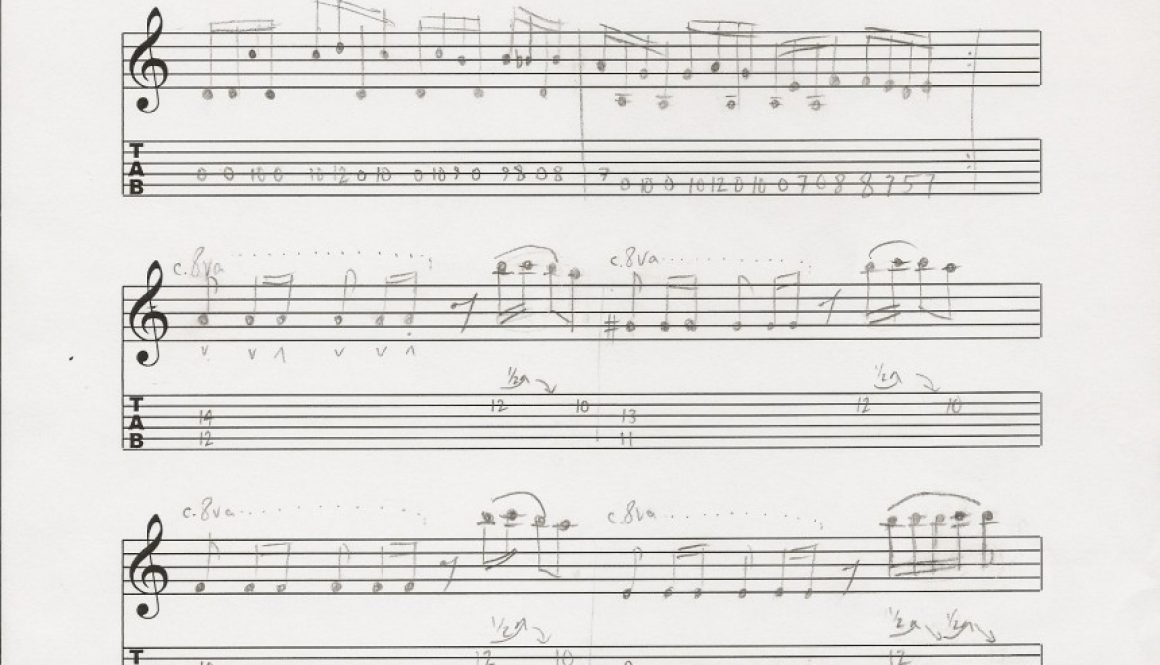
Lately, I’m playing Hysteria by Muse. Excellent song! The intro bass part is great to play on guitar (see my transcription at right), and of course the guitar solo is a great finger gym exercise too. Alternate picking throughout.
I’ve been asked a number of times whether the polarity makes any difference when connecting the common guitar tone cap, and I always answer No.
Electrolytic caps are polarized, and can fail or explode if you connect them up backwards. But we don’t use electrolytics for guitar tone – the caps we typically use (polyester film, paper-in-oil, etc) have no significant polarity.
Now, film and foil caps (like Orange Drops and Mallorys) do have an outside foil-wrapping which is used for shielding and is connected on one of the leads of the cap. Ceramic and silver mica caps aren’t built with an outside foil wrap.
I haven’t noticed it myself, but it obviously depends on the guitar, pickups, amp, wire, capacitors, and the ears 🙂
Caps aren’t typically marked for which is the outside foil end- and I don’t know of any way to tell which is which. So, in short, try your tone cap both ways and if you hear that one way sounds better than other, then go for it. If you don’t hear a difference, don’t worry about it!
There are a variety of expensive “boutique” guitar tone capacitors out there, which I haven’t tried and didn’t include in my tone cap comparison project.
I just came across this audio comparison by “Kernel of Wisdom” which examines a bunch of the more expensive tone caps including a vintage bumblebee, modern bumblebee, Jensen Paper-In-Oil, Vitamin Q, and Luxe Grey Tiger.
When learning a new song, it’s really helpful to be able to play along with the original track, and slow it down while preserving the original pitch.
Without special processing, if you just slow down audio playback, it’ll get lower in pitch (remember slowing down a spinning record and hearing it get low and slow?). And if you speed it up, it’ll raise the pitch (chipmunks!)
I use the tape deck in Native Instruments Guitar Rig, which is great. It lets you slow down the audio, independently change the pitch if you want, set loop points, and speed up/slow down the track.
Being able to control the pitch independently of speed is great for playing songs that are not tuned to standard A440, without having to retune your guitar. Some examples I like to play are Weezer’s Say It Ain’t So (which is tuned down a half step), and Police Every Breath You Take (which is tuned down about 70 cents).
Just wanted to pass this along in case anyone missed the news from E3.
Rock Band has been an entertaining way to introduce my kids to playing music. Cue my daughters singing Eye of the Tiger!! But it’s a bit frustrating for me that the guitar controllers really don’t introduce the gamer to the skills needed to play real guitar.
That’s about to change in Rock Band 3 with a new Fender Squier “hybrid” guitar which can be used as a controller for the game. It looks like a real guitar, plays like a real guitar and possibly actually is a real guitar- tuned strings, fretboard, pickup(s) and all. There are corresponding new “Pro Guitar” tracks in the game which feature a sliding fretboard and all 6 strings. There will also be a more toy-like Fender Mustang Pro guitar controller (pictured at right) which has 17 frets with 6 buttons each, and six little strings (presumably unpitched) to strum – it’s still a toy, but a big step up from the current guitar controllers which have 5 fret buttons and one strum switch.
Steven at S. K. Guitar Specialties has an interesting article comparing tone caps of different material types (PIO, Ceramic and polyester), with overlaid frequency plots. Check it here.
Here are the recordings lifted from my most recent Tone Cap Comparison Video, split into individual files. The files are named using generic numbers, rather than labeling them by cap type – so you can listen to these without being influenced by preconceived ideas of what a particular material type should sound like.
Or try this. Before checking the legend (linked below), listen to the examples and choose the one you like best. After you’ve decided what you like, only then check the legend which says what cap type is used for each recording.