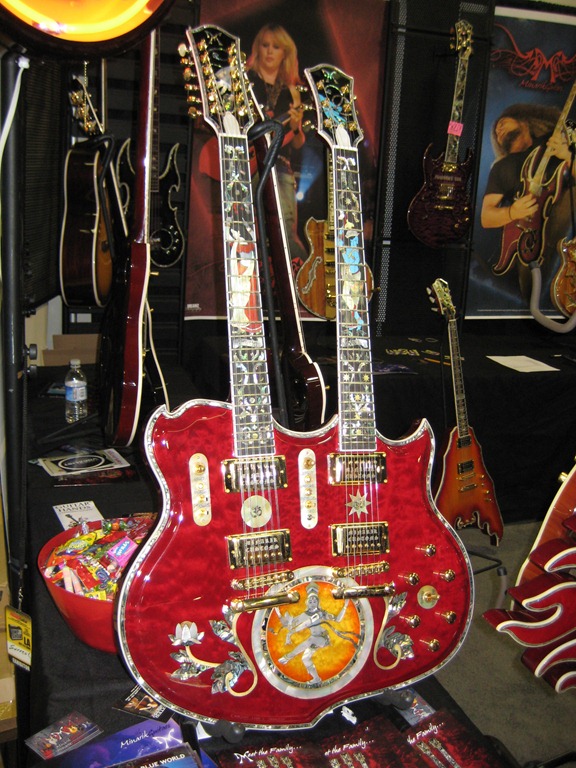
Artisan Luthiery
Some of the guitars I saw at this year’s NAMM trade show are true works of art. Masterpieces of woodworking, incredibly fine detail, yes. But, I must ask – have these instruments lost sight of their own musicality? Do they sound any good?
I was afraid to (or not allowed to) play many of these, so I have to wonder. I imagine that some of these do indeed triumph both as musical instruments and as works of art, but perhaps others will be better as pieces of furniture or wall art, rather than playing instruments…


Vox Night Train with V112NT Cabinet
I’ve seen and heard a number of demos of the beautiful lunchbox-style Vox Night Train amp head. But none of them played through the new matching V112NT cabinet. I finally got to hear it through the matching cab at the Vox booth at this year’s NAMM trade show. I recorded a demo of Freddy DeMarco playing the Night Train with its matched cabinet. Its an awesome combination. More
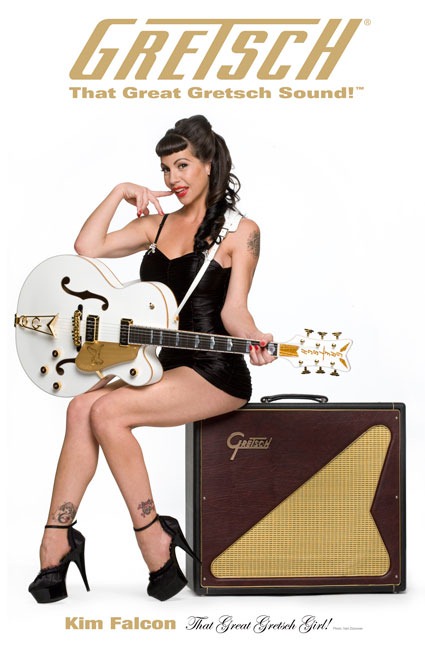
What Sells Guitars?
Hot pin-up girls, of course!
Check out this gorgeous, curvy thing! Kim Falcon is pretty cute, too 🙂
New Digitech JamMan Loopers
I’ve long been a fan of looping with guitars. I had the original Oberheim Echoplex Digital Pro, before it was co-opted by Gibson. Great looper, but mono and always frustrating that after creating a great composition, there was no way to save it other than just recording the combined analog audio composite. I sold the EDP when I started using Native Instruments Guitar Rig, but was never quite satisfied with the experience of being bound to the computer.
The previous edition of the Digitech Jam Man was nice, but also mono. The Looperlative LP1 and the Boss RC-50 are both stereo but are pretty expensive. I saw a new Looperlative LP2 prototype at NAMM which is much cheaper than the LP1, but it’s mono.
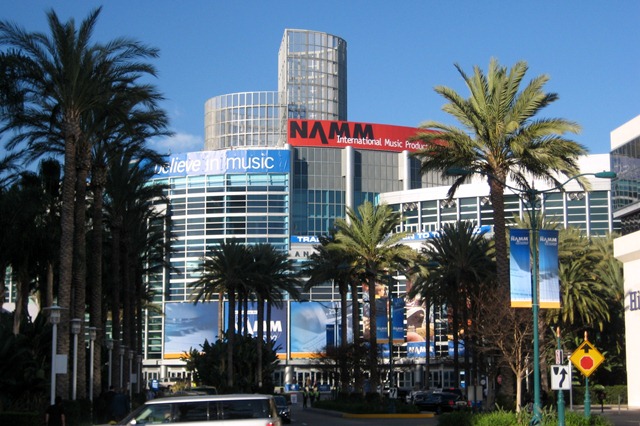
NAMM 2010
I’ve just returned from this year’s NAMM trade show in Anaheim (that’s the National Association of Music Merchants). Interesting, fun, exhausting – not necessarily in that order 🙂 There’s lots of cool stuff to share, which I’ll post over the new few days.
I saw and played some interesting and amazing instruments and met the artisans, luthiers, engineers, and designers that made them. They’re all there trying to get their ideas out, and hopefully make deals with retailers to carry their products.
As a software engineer for Korg R&D, I wasn’t there to make deals. I had a couple meetings, sized up some of Korg’s competitors, visited a lot of old friends, and generally browsed around getting inspired. I’ve been to this show nearly every year since 1994, and I always come away with some new energy and motivation (that is, after recovering from the soreness and dehydration).
It’s hard to describe the scale of the NAMM show. It’s HUGE. And there are just hoards of people of all kinds there- hip rockers, metal heads, punkrock girls, nerdy engineers, synth geeks, pinup girls, celeb lookalikes, and even a few business suits. The official stats say there were 87,569 registrants present.
I also saw a few gen-u-ine stars. I walked past Joe Satriani and Slash, who were signing autographs for insanely long lines of fans. Jordan Rudess always seems to be everywhere at once – really, I think he has cloned himself. I got to hang out with synth pioneers Dave Smith and John Bowen. I watched Joey DeFrancesco play some effortlessly incredible organ, Richard Devine do his knob twiddling thing with Ableton Live, and of course a number of lesser known (to me) musicians who ranged between total suck, and amazing.