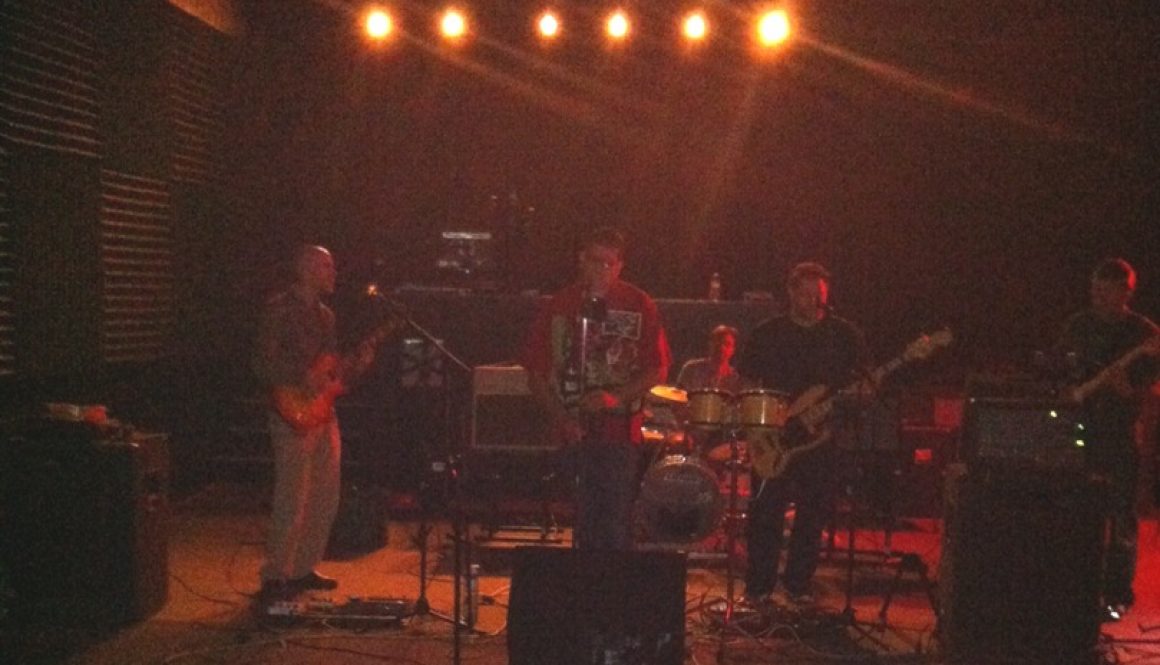
I’m a couple weeks in with my new Line 6 HD500X, and I’m loving it. My band The Drop Daddies has a gig on Friday, and it’ll be the first with the new Blackstar Stage 60 and new pedal board. So I’m getting up to speed building new presets for songs, and getting used to a whole new world at my feet. More
At a recent rehearsal with The Drop Daddies, my buddy Ian made an amusing and insightful comment…
Last year, I added a Rocktron Banshee talkbox to my pedal board, so that I could nail the intro to Sweet Emotion, and the solo in Weezer’s Beverly Hills. Yes, it does that sound, and it does it well. More
In pedal building, we almost exclusively see the Hammond-style diecast aluminum enclosures. You know their names- the ubiquitous 1590B (aka 1290NS) and its plus-size cousin the 125B. Then there’s the larger 1590BB, and the tiny and temperamental 1590A. What these all have in common is the simple generic rectangular shape.
But what if you’re a fan of the spring-loaded foot-pedal enclosures made famous by the BOSS and Ibanez pedals?
Typically, the only way for DIY pedal builders to achieve that look was to buy an old pedal and gut it- but then you’re stuck with the original pedal’s drilling layout.
Now there’s a new option- I just came across these new enclosures from Rixen Pedals.
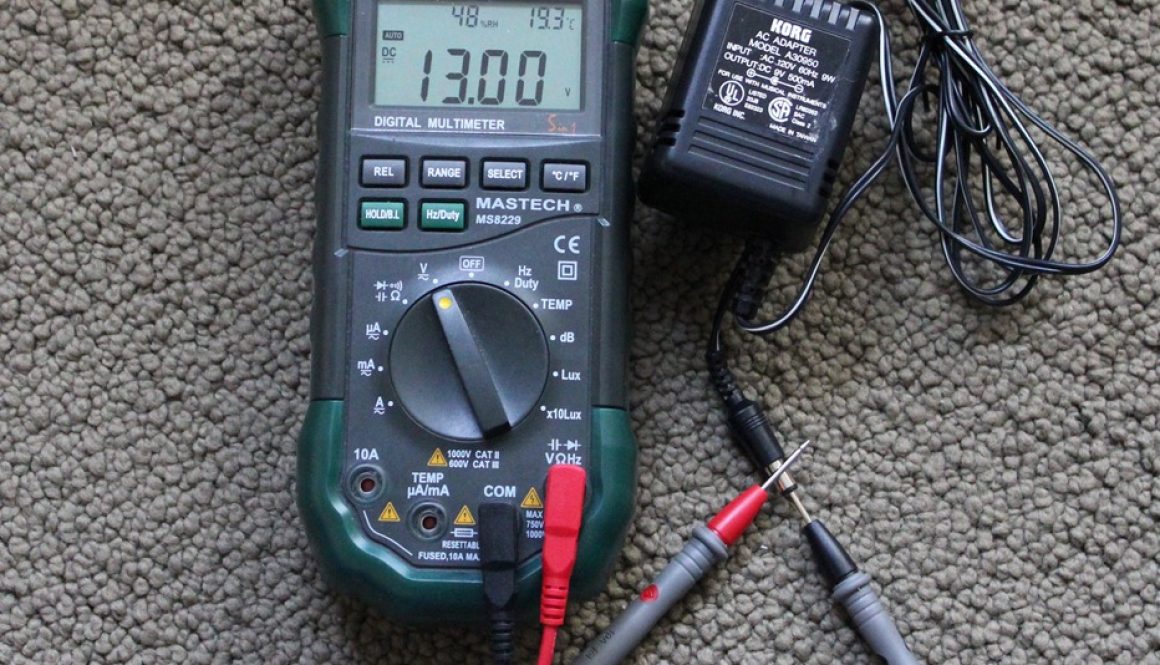
As I mentioned previously, my pedal board’s power supply died, so I’ve been temporarily using an old Korg 9V power supply.
I’ve been getting some hum from Ryan’s Fulltone Fat-Boost, and finally decided to do some sleuthing to figure out why.
Fortunately, before I even cracked open the Fat-Boost, I hooked up a multimeter to measure the voltage output of the Korg supply, and it turns out that this little guy is really putting out 13V, not 9V. Well, that’s annoying. Is it mislabeled, or just over-compensating for something?More
After a bit of trial and error, it was clear that my ancient SKB PS-25 pedalboard power supply had finally keeled over. I never use batteries, but fortunately a couple of the pedals had old 9V batteries still in them, so it was enough to scrape by for the rehearsal.
The following morning, just a few hours before the gig, I went through my box of old guitar gear to try to find a replacement 9V DC negative-tip power supply.
Hey, here’s the power supply for my Digitech Jamman Delay which I’m not currently using in my live rig. It says 9V, 1.3A. Strange, it doesn’t show a polarity, but it’s a power supply for a guitar pedal, and the plug barrel fits, so it must be good, right? What could possibly go wrong?
In this final installment on finishing your own guitar effects pedals, I demonstrate how to print and apply the waterslide decal to the pedal, and apply a durable clear finish. In previous videos, I showed how to model, drill, and paint the enclosure, and design and prepare the artwork and labels in GIMP.
I use clear waterslide decal paper, and print on my inkjet Canon Pro9000mkII. After printing, and waiting a while to ensure the ink is dry, I spray on a few coats of Krylon Acrylic Crystal Clear acrylic to protect the ink during the soak. Then, after the clearcoat dries for 30 minutes or so, I trim the paper to final dimensions and soak the paper in warm water. When the decal starts to move freely from its backing, I wet the surface of the enclosure and slide the decal directly onto it. I iron out the bubbles with wet fingers, and adjust the decal into its final position, being careful not to stretch the decal.
The next step in finishing up the pedal that we’ve modeled, drilled and painted previously, is to prepare the artwork and labels.
In this tutorial, I will demonstrate how to compose your pedal artwork in GIMP, the free GNU Image Manipulation Program. I’m using GIMP 2.8.2 on Windows, but it also runs on Mac and Linux. More
In previous posts, we modeled the enclosure in Sketchup, drilled it, and now we’re ready for paint and artwork. In this video, I talk about options for finishing the enclosure, and choices for art and labels. Then I demonstrate surface prep, priming and painting, in preparation for the waterslide decals. More
This part of the project ended up being far more grandiose than I originally intended. I started out planning to just show how to model this diecast aluminum 125B guitar pedal enclosure, to make sure my PCB and components would fit properly inside. But by the time I was done with it, it was essentially a complete beginner’s how-to course for Google Sketchup. (Note, Sketchup is now part of Trimble instead of Google). More